Installation |
  
|
Installation |
|
General
ENERCALC® SEL must be installed on each computer where it will be used. DO NOT install on one computer and use a shortcut to the software on a different computer....IT WILL NOT RUN PROPERLY.
You can install on ANY computer where you might want to use it. You will need “activate” it on the computer where it will be used so it runs as an “activated” program.
The activated seat can easily be moved between computers as you desire using our Internet Activation system. An Internet connection is needed only for the brief moment of activating or deactivating.
Download Installation File
If you don't already have the latest installation file, you can download it using this link: https://install.enercalc.com/ECSEL20_SETUP.EXE
This link will ALWAYS install the MOST RECENT build of the software. Don’t save the installation file for later use.....you will be saving the installer for what will soon be an old copy of the software, because we update the builds quite often.
This installation file will ask you to paste in the Product Control Code that ENERCALC has assigned to you. Locate the email you received from ENERCALC that contains that long scrambled looking string of characters. Always use the most recent email because it has your latest PCC.
The PCC has all the information for your license, including your Subscription (or Maintenance & Support Plan) expiration date, name that will appear as the license holder, etc.
NOTE! If you installed our DEMO version be sure to UNINSTALL IT. It cannot be used as licensed software.
Installation Procedure
This section describes installation of the software on any computer where you want to use it. At this time we assume you have downloaded and started the installation program file.
Immediately after starting the installation program you will view a "Welcome" screen identifying the product to be installed.
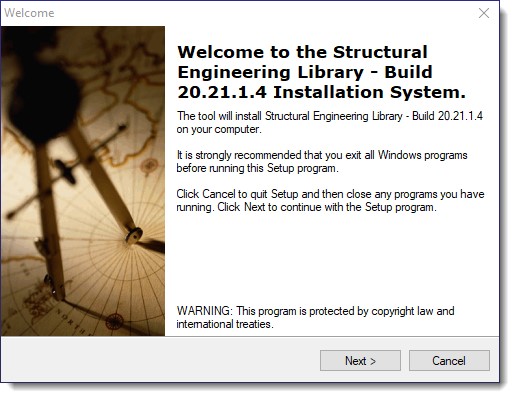
Click [Next > ]
Next you will be asked to paste your Product Control Code (PCC). Note! The same PCC is used in ALL your installations. You only need a new PCC when you renew your Subscription.
The PCC is a scrambled looking string about 150 characters long that was supplied to you in one of your product delivery emails.
Locate your most recently received PCC, highlight it press Ctrl-C to copy it to the Windows Clipboard. Then click the button circled to paste it into the entry area.
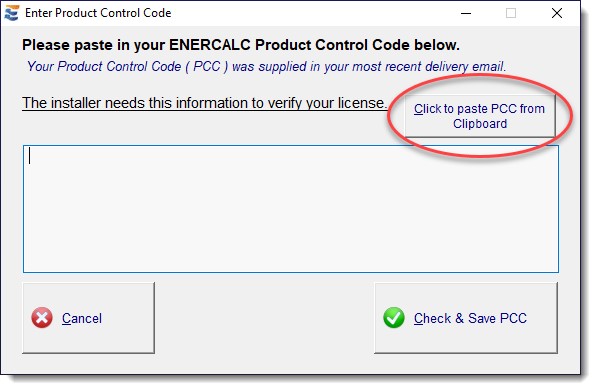
Now click the Check & Save PCC button.
Next you will be asked to review the ENERCALC License Agreement. You have 30 days after purchase for subscriptions to review the agreement and return the software, so it is not necessary to read the entire document at this time. After installation you can print and read the License Agreement using the License > License Agreement menu selection.
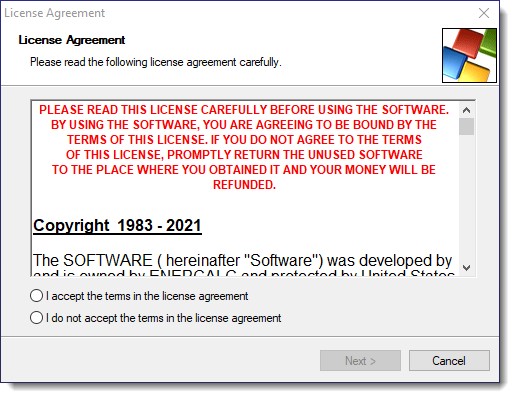
Choose “I Accept....” and click [Next > ]
Next you will be asked to select the drive and folder location where the program files are to be placed. A standard location for Microsoft Windows installations is given and our best advice is to accept it.
ALWAYS INSTALL THE SOFTWARE ON THE COMPUTER WHERE IT WILL BE USED....NOT A REMOTE DRIVE.
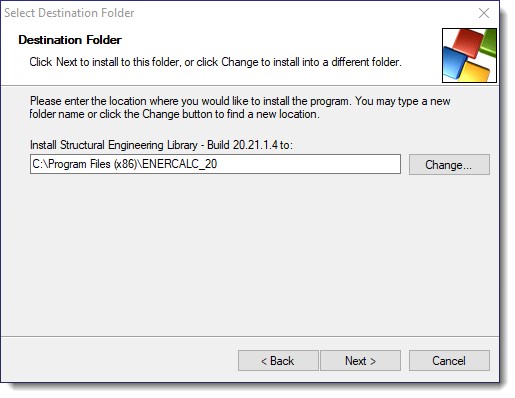
Click [Next > ]
Next you will be asked to select the default drive and folder location where your Project Files will be saved. Feel free to customize this one, but our best recommendation is to avoid Dropbox, OneDrive, and other mirroring systems.
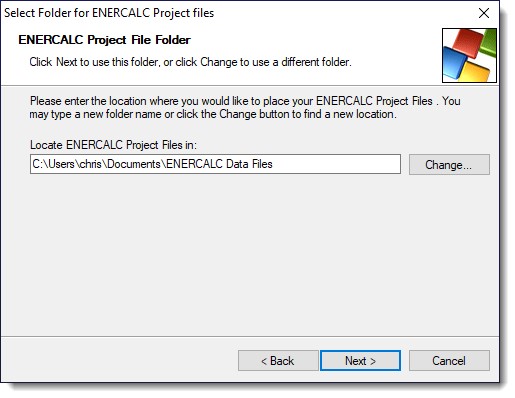
Click [Next > ]
Next you will be asked to select the drive and folder location where shared databases will be saved. These include material databases. A standard location for Microsoft Windows installations is given and again, our best advice is to accept it.
ALWAYS INSTALL THE DATABASES ON THE COMPUTER WHERE IT WILL BE USED....NOT A REMOTE DRIVE.
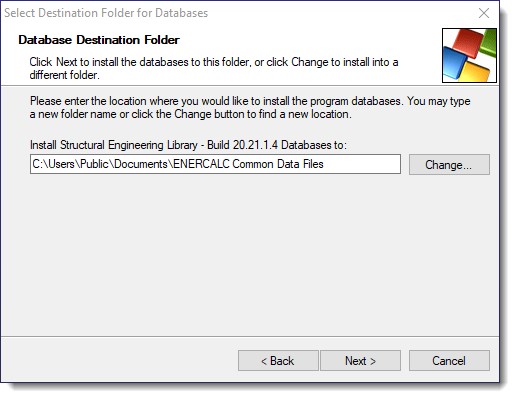
Click [Next > ]
Next you will be asked to name the Start menu program group that will contain the links for starting up various parts of the software. (We recommend using what our installation program suggests.)
This program group will be placed within the Start > Programs selection within Windows.
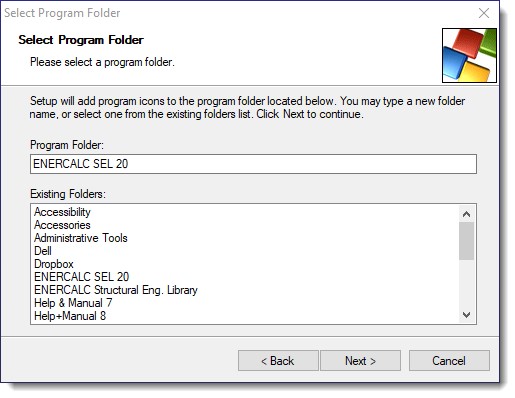
Click [Next > ]
The next option allows you to create a desktop shortcut. The option is already checked, however if you wish you can uncheck.
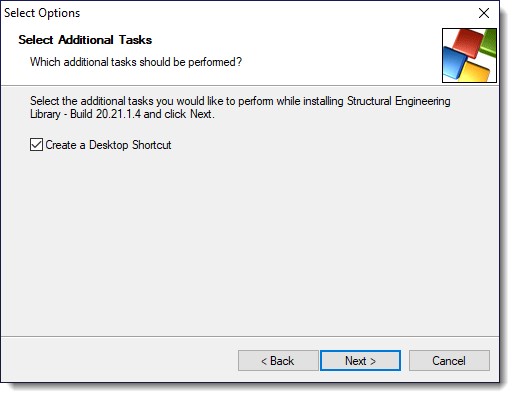
Click [Next > ]
Next and immediately prior to the file placement process you will be given a summary of your selected items.
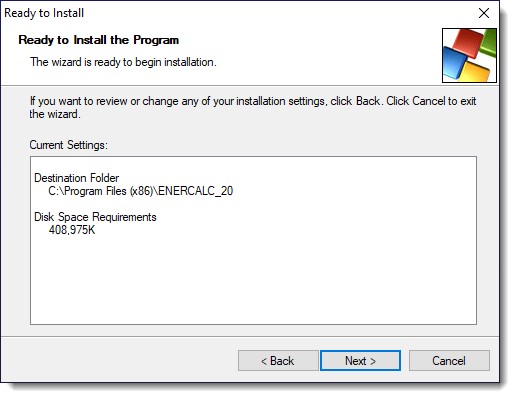
If all is OK then Click [Next > ]
The files will then be copied to your computer.
The final screen announces that the installation process is complete.
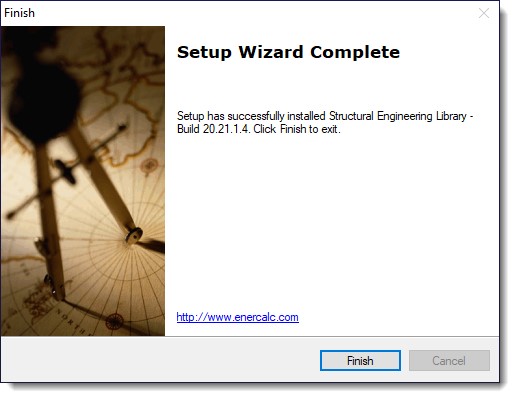
Click [Finish > ]
SOFTWARE INSTALLATION IS NOW COMPLETE!
 <
<