Project Assistant |
  
|
Project Assistant |
|
This screen gives you the ability to instantly choose how you wish to begin your work session. All of these options can also be easily chosen from the main menu.
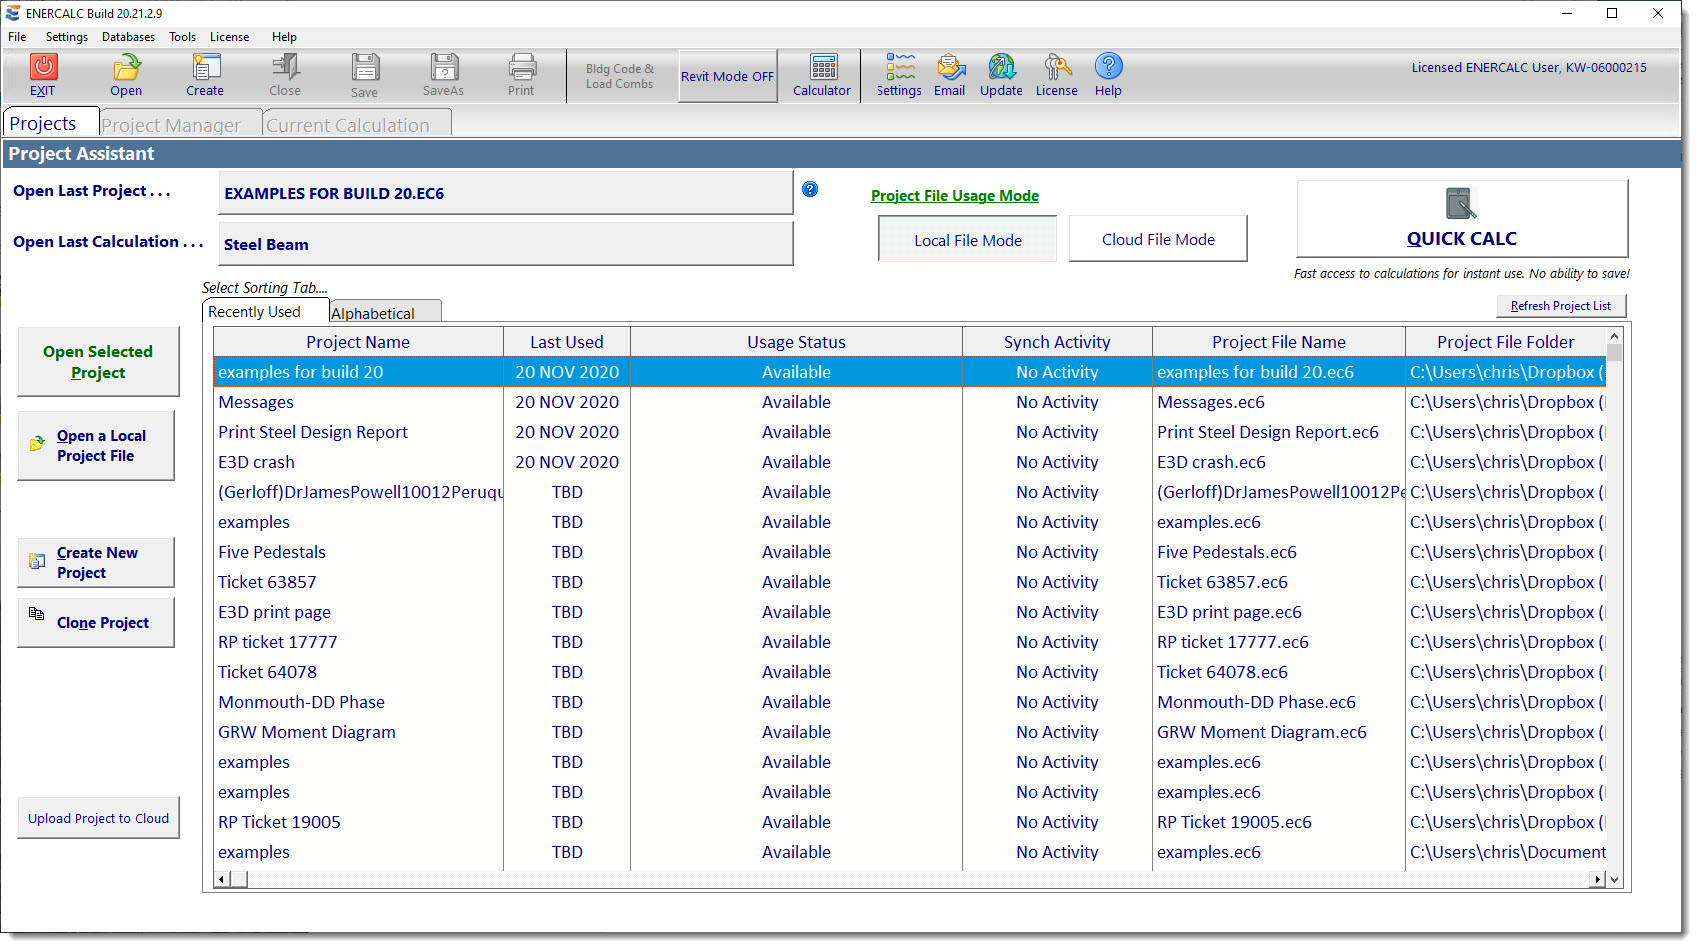
For this Sample Session we want to create a new Project File, so the next step will be to click the [Create New Project] button.
The next window to be displayed (see below) will allow you to define the file name and select the drive & directory where the file should be placed.
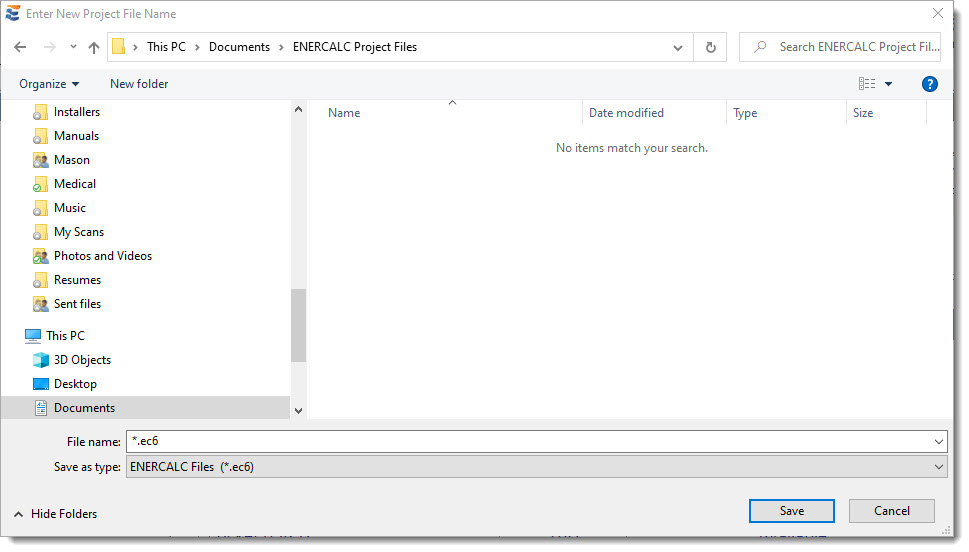
We will use the filename Sample Session and place it in a folder named ENERCALC Project Files that we created specifically to hold Project Files.
Note: You could place the file in other directories, but keep in mind that Microsoft is now recommending specific locations for saving user-generated files with the newer operating systems, and the default ENERCALC data folder conforms to these new best-practice recommendations. The important thing to recognize is that an ENERCALC Project File can hold thousands of calculations, so it is likely that there will only need to be a single ENERCALC Project File for each design project in the office.
 <
<