Project Printing |
  
|
Project Printing |
|
The Project Printing system allows you to print a complete project full of reports in one simple process.
You can review all the reports in your project and then select which reports to print.
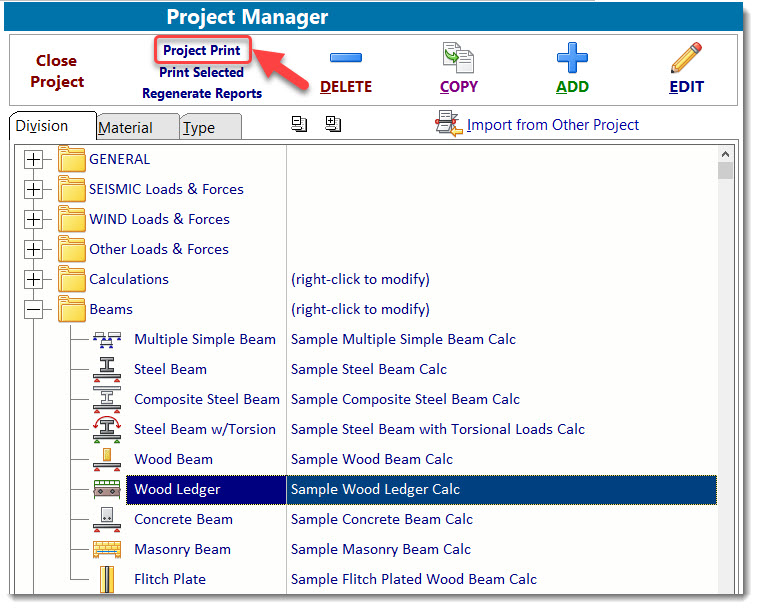
To open the Project Printing system, click the button indicated in the screen capture below:
The screen will change to display the Project Printing Manager window.
On the left will be listed all of the calculations and external items in the Project File. The items in the GENERAL Division and Loads & Forces Divisions are placed at the top, and the items in the other Divisions are placed on the bottom. When you highlight an item the full report appears on the right side of the screen.
See the numbered keynotes on the image below as we describe how to use the various controls on the screen. The information is given in order of typical usage.
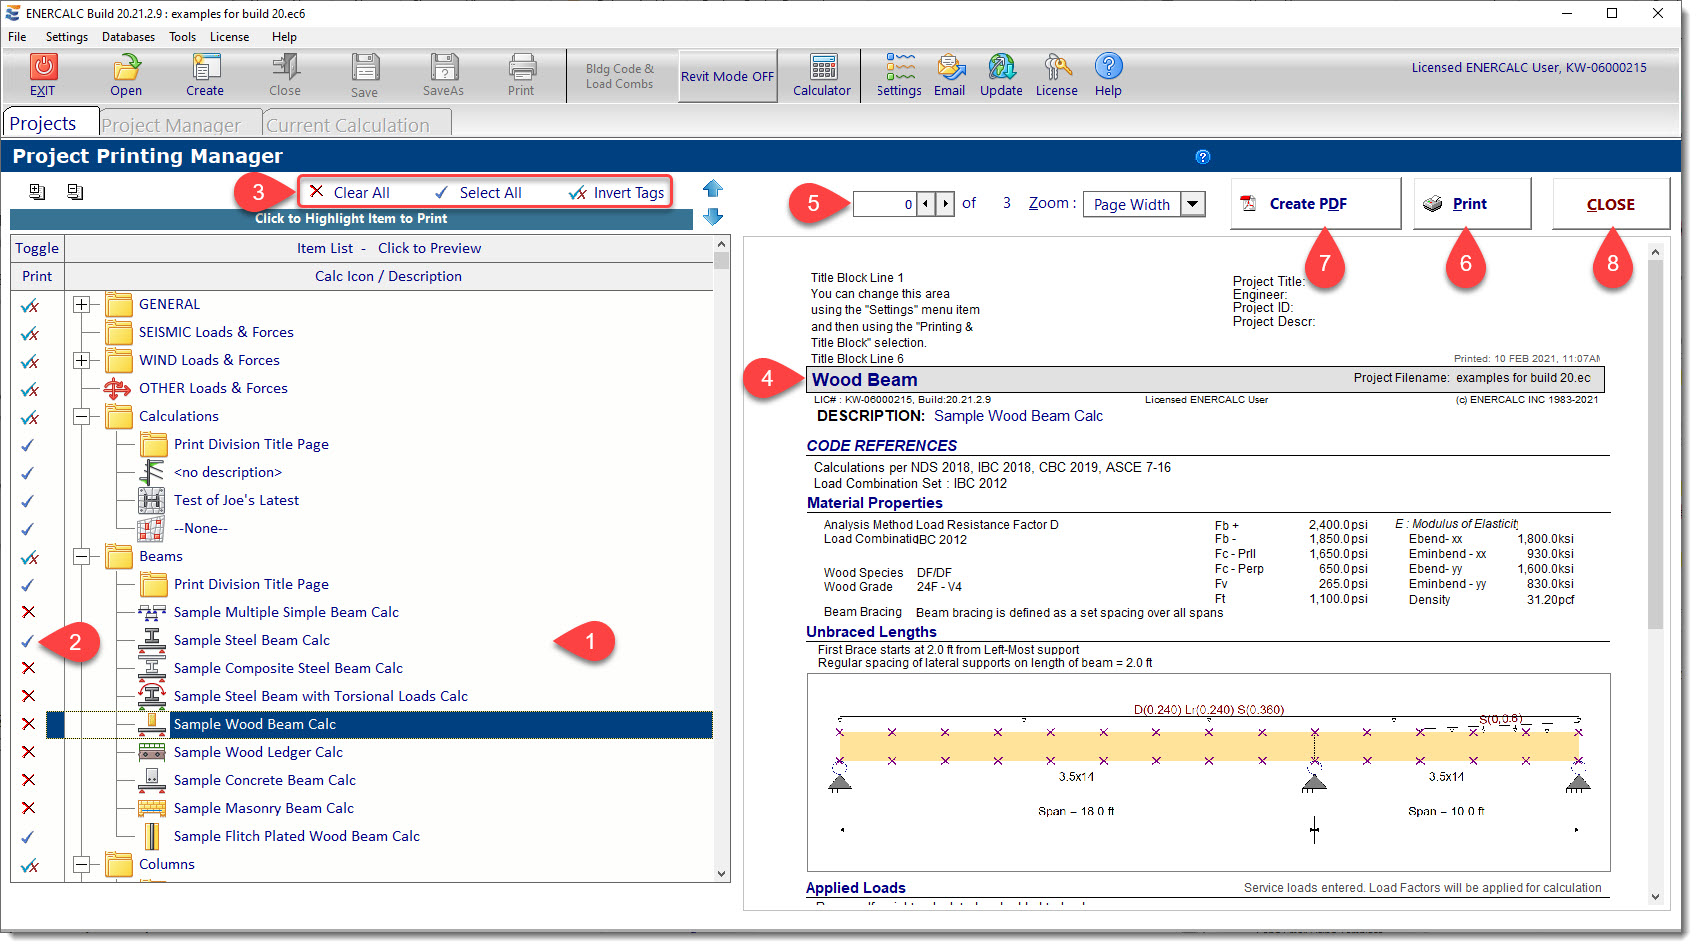
(1) List of project items for which reports are available : This area is similar to the item list in the Project Manager. All available report items are listed here. Simply click an item and the report for that item will be displayed in area (4). Please REMEMBER that the reports shown were created when you clicked [Save] or [Save & Close] in the specific calculation.
(2) Print / No-print check mark: This column contains a check mark ![]() or an X
or an X ![]() to denote whether that particular report item is scheduled for printing.
to denote whether that particular report item is scheduled for printing.
(3) Clear All / Select All / Invert Selection buttons: These three buttons perform bulk changes to the print/no-print status of all items in the project.
![]() Clears the print tags on all reports, so none will be printed. A
Clears the print tags on all reports, so none will be printed. A ![]() is displayed to the left of all reports after clicking this button.
is displayed to the left of all reports after clicking this button.
![]() Selects the print tags on all reports, so all will be printed. A
Selects the print tags on all reports, so all will be printed. A ![]() is displayed to the left of all reports after clicking this button.
is displayed to the left of all reports after clicking this button.
![]() Inverts the print/no-print tags on all reports.
Inverts the print/no-print tags on all reports.
(4) Report Preview area: The complete preview of the report is shown in this area for the report item highlighted in the list.
(5) Report page selection: When the highlighted item is a multi-page report, this box selects the page to view.
(6) Print selected reports to printer: Displays the Windows standard Print dialog box and begins printing all selected project items.
(7) Create single PDF file for selected reports: Displays a Windows Open File dialog box to request a filename for a PDF file and then creates a PDF of all selected project items.
(8) Click [Close] to dismiss the Project Printing Manager.
 <
<