Frame Wizard |
  
|
Frame Wizard |
|
Overview
The Frame Wizard can create complete 2D Frame models for many typical framing configurations and truss layouts with just a few simple inputs.
The Frame Wizard is also especially helpful when you are just beginning to use this module and want to learn about how to specify joint end restraints and member end releases.
Types of Models the Frame Wizard Can Generate
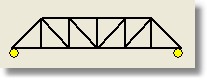
Pratt Truss |
|
Warren Truss |
|
Vierendeel Truss |
|
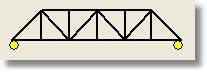
Howe Truss |
|
Inverted Warren Truss |
|
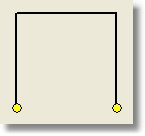
Single Bay 3-Member Frame |
|
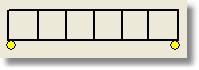
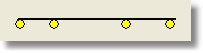
Continuous Member |
|
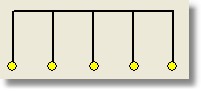
Multi-Bay One Story Frame |
|
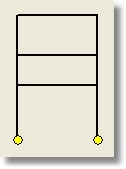
Multi-Story Single Bay Frame |
|
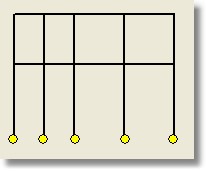
Multi-Story Frame |
|
Please send additional requests to support@enercalc.com.
Example: Using the Frame Wizard to create a Pratt Truss
Creating a truss with the Frame Wizard is extremely simple. Just start by selecting [Pratt] and clicking [Next].
The screen you see below will be displayed.
Simply enter the overall length and height of the truss and the number of panels the truss will have. The sample image shown has 6 panels.
The next entries allow you to easily specify a member size for the three main members that are typically the same on a truss like this (Verticals, Horizontals, and Diagonals).
The button to the right of each data entry area provides access to the built-in section database in ENERCALC SEL.
If you DO specify a database section, all of the associated section properties will be brought into the frame model for you.
If you DO NOT specify a database section, then the members will be assigned a name of "Vertical", "Diagonal" or "Chord" as a section group. Then all you need to do is enter property values for those three sections.
To finish just click [Finish]. The model will be instantly created.
Example: Using the Frame Wizard to create a Continuous Beam
The Frame Wizard is an extremely efficient way to model a continuous beam. Just start by selecting [Continuous Member] and then click [Next].
The screen you see below will be displayed:
Note: This wizard allows just one section to be entered BUT you can easily change that beam specification for each span after the model is built.
Enter the Number of Spans first.
The next entry allows you to easily specify a member section name. The button to the right of each data entry area provides access to the built-in section database in ENERCALC SEL.
If you DO specify a database section, all of the associated section properties will be brought into the continuous beam model for you.
If you DO NOT specify a database section then the members will be assigned a name of "Beam" as a section group. Then all you need to do is enter property values for that section.
For specification of span lengths you can either use [Equal Spacing]:
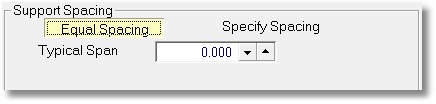
-or- [Specify Spacing] which allows you to enter the span lengths for each span.
Then just click [Finish], and the model will be instantly created.
 <
<